
You can create invoices for the classes which are not currently invoiced.
Select the Create Invoice option from the Accounting menu option.
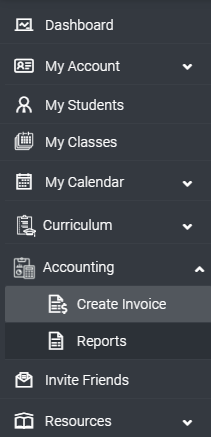
Once you select the Create Invoice option, a page will open to create the invoice, as shown below.
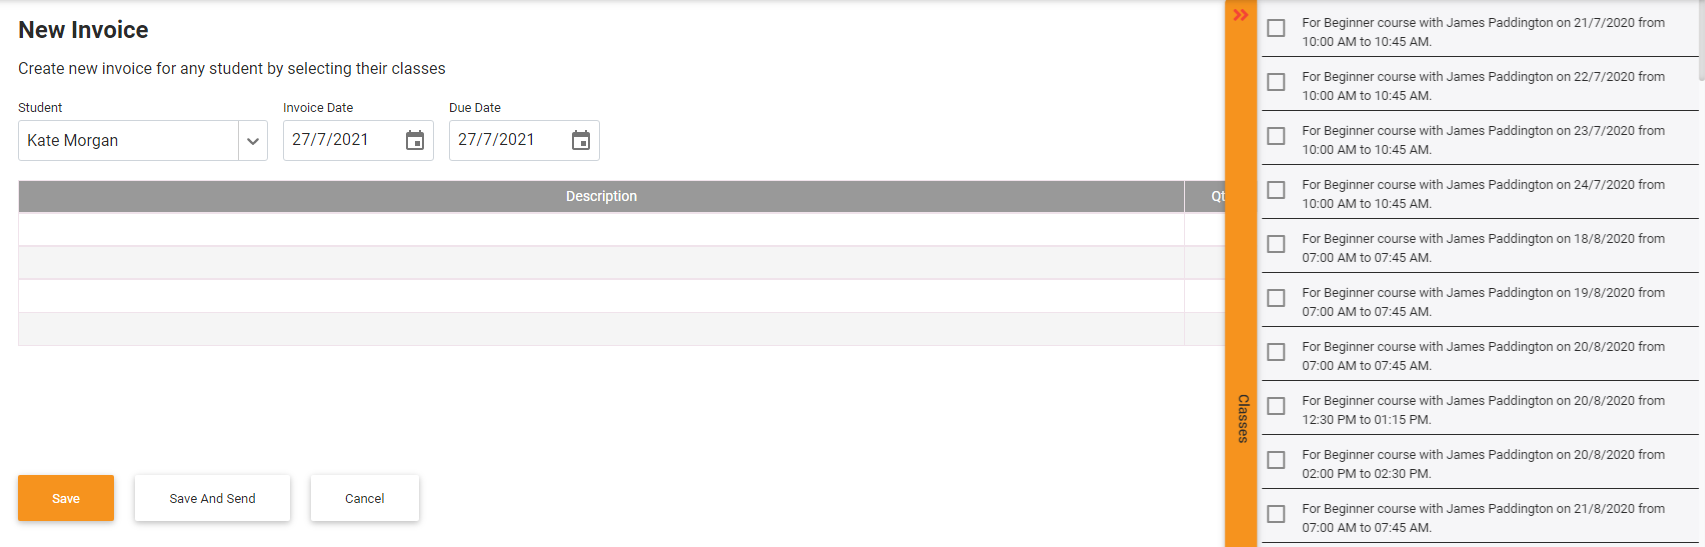
On the New Invoice page, you can select the student to create an invoice for them.
By selecting the student, a list of un-invoiced classes for that student will show to the side of the page. You can select the classes from this list to create an invoice.
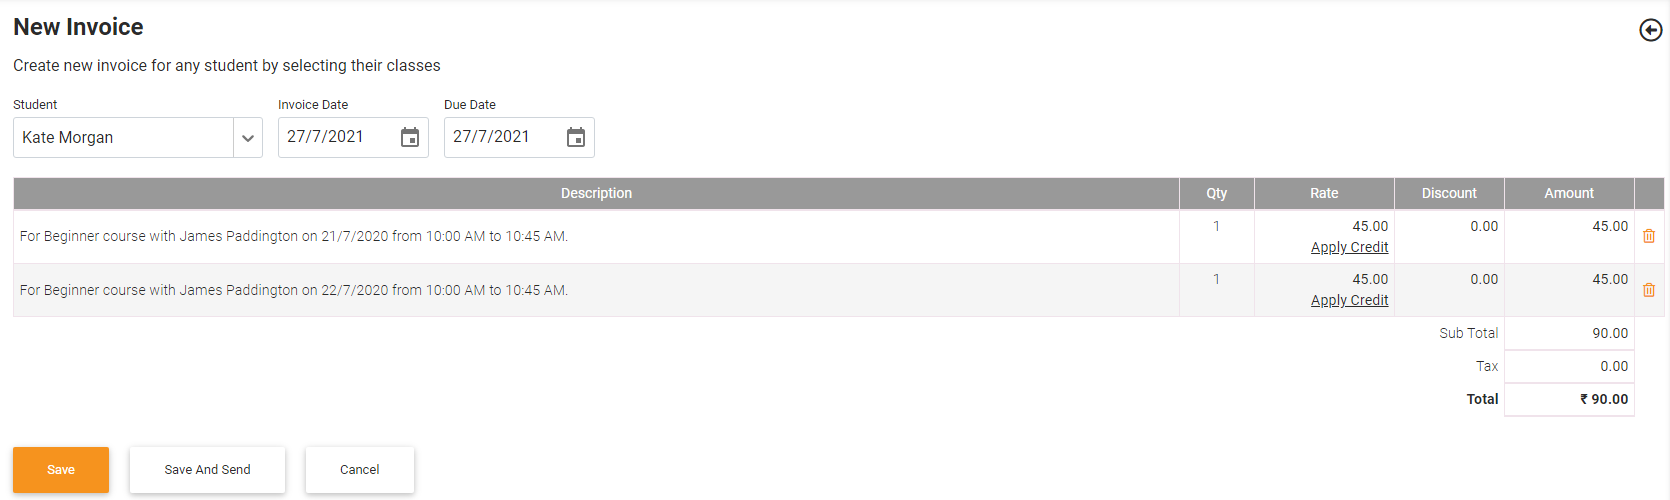
As shown above, you can select any number of classes for creating an invoice. If you would prefer to remove one of the classes from the list, you can click the delete icon in the right corner of the line. Select another class by expanding the list of classes from the side of the page.
You can select the invoice date and the due date for the invoice.
By clicking the SAVE button, you will create the invoice.
By clicking the SAVE AND SEND button, the invoice will be created and sent to the customer via email.